Getting Started
Welcome to MX18 — your powerful email delivery platform built to get you sending in minutes. This guide walks you through the essentials to start sending emails via our platform confidently.
Pre-requisites
Before you begin, make sure you have:
- A valid MX18 account (Sign up here)
- Access to your domain DNS settings (to verify sender identities)
- Basic understanding of REST APIs or SMTP (depending on your integration choice)
Steps to start sending emails
1. Login to your dashboard
Visit app.mx18.com and sign in with your credentials.
If you haven’t registered yet, you can sign up in less than a minute.
2. Create & verify your sender identity
To improve deliverability and comply with anti-spam guidelines, MX18 requires you to verify your sender identity before sending.
- Go to Sender identities > Add new
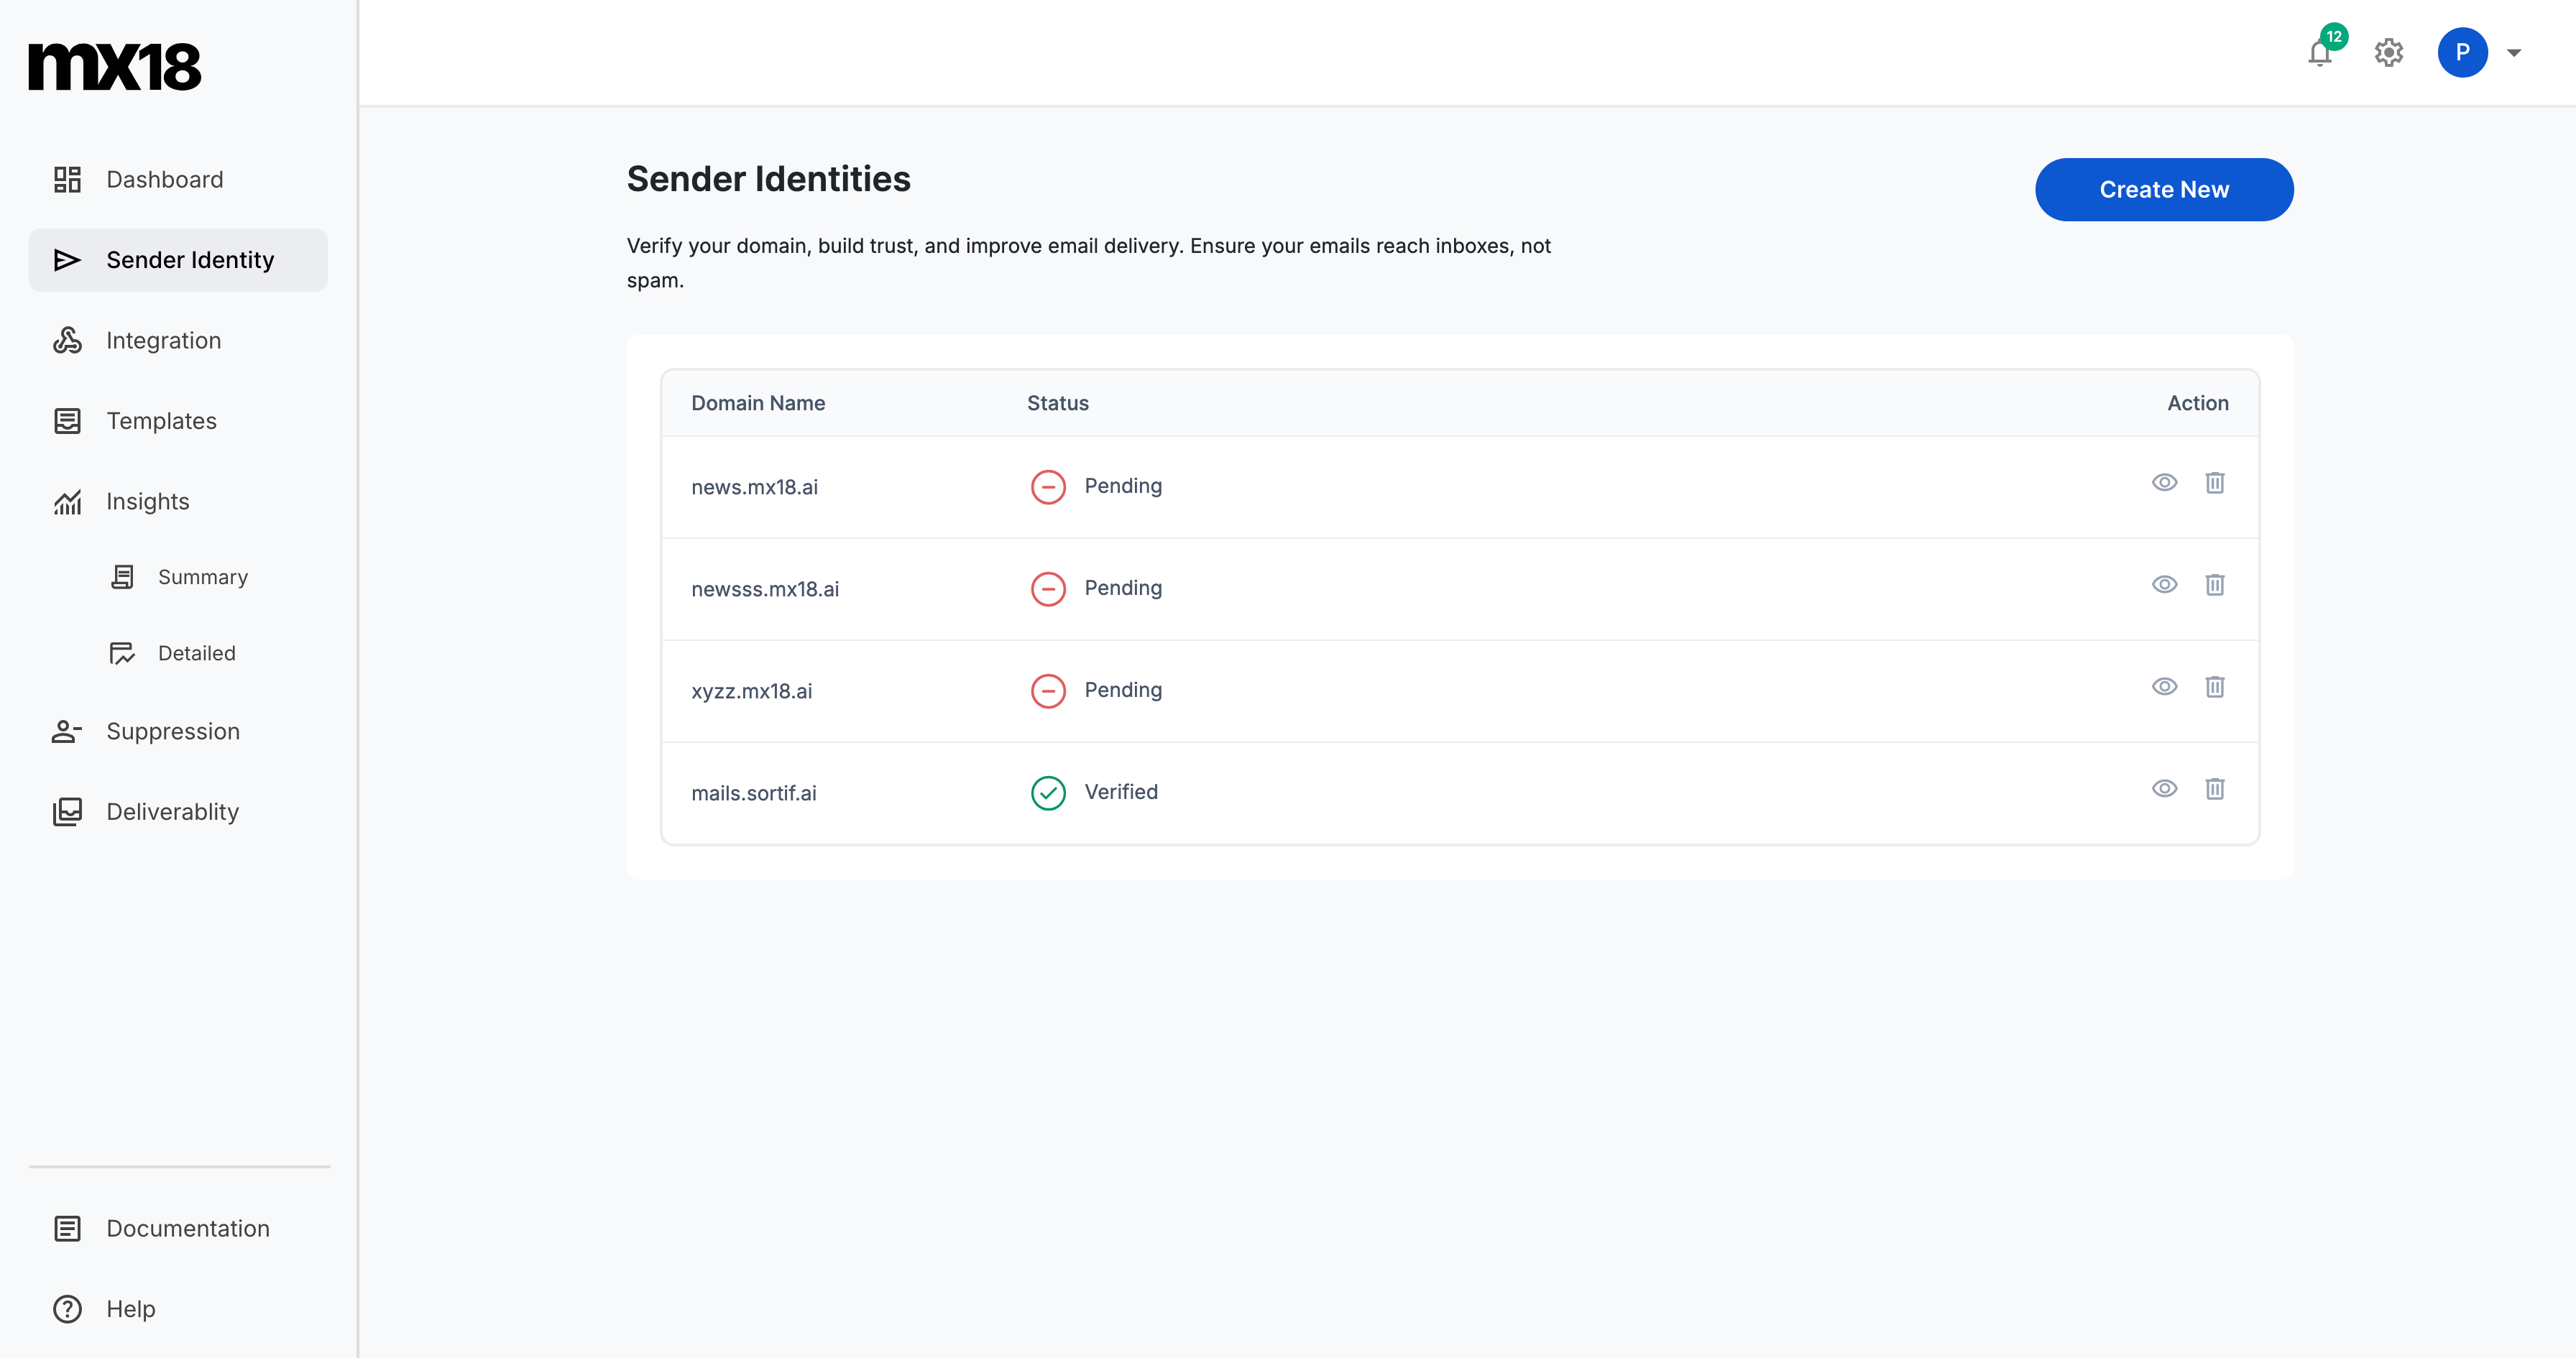
- Add your From email address or domain
- Follow the verification steps (via email or DNS)
Once verified, you’re ready to send.
3. Choose how you want to send
You can start sending emails via API or SMTP, whichever suits your stack:
- Send via API: Ideal for developers who want full control and custom payloads
- Send via SMTP: Plug-and-play for standard email clients and transactional platforms
Each method supports authentication, personalization, attachments, and more.
4. Monitor your email activity
MX18 offers rich visibility into your email performance:
- Visit the Analytics tab for real-time data: sends, opens, clicks, bounces, unsubscribes
- Download summary or detailed reports
- Set up Webhooks for live event streams pushed to your application
Need help?
Our documentation is here to guide you — check out:
If you're stuck, reach us at support@mx18.com. We’re here to help you deliver email that works.
Ready to send? Head over to the Mail Send API » or SMTP Guide » to get started!